Creating and Hosting Your Own WordPress Site in the Cloud
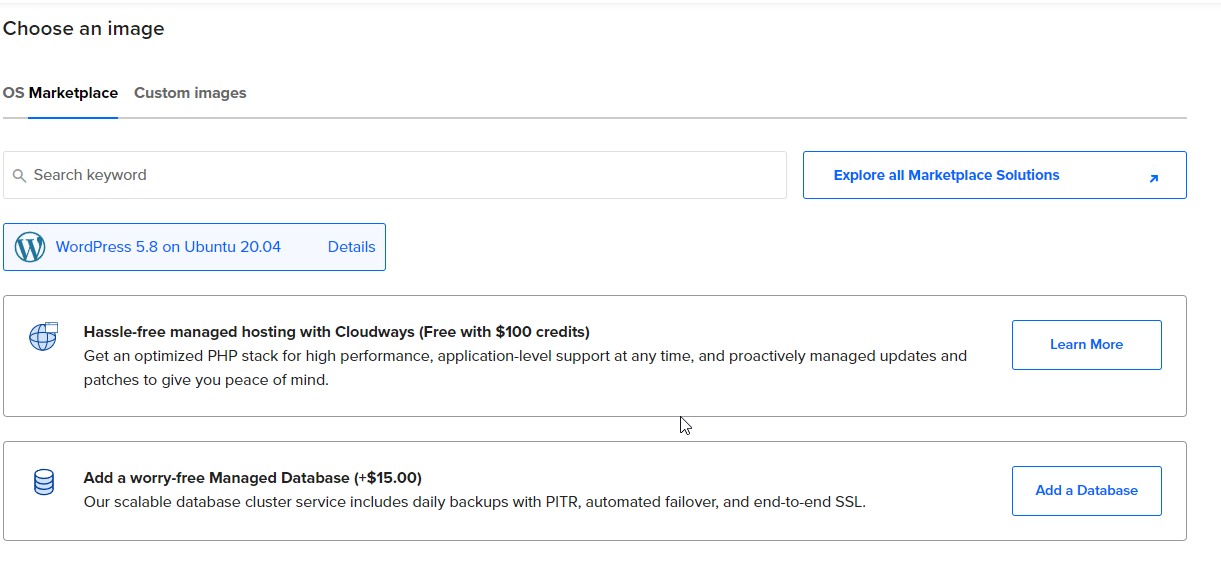
Create a DigitalOcean account and start a new Droplet using DigitalOcean’s 1-Click WordPress deployment to quickly create a new virtual machine in the cloud to host your WordPress site.
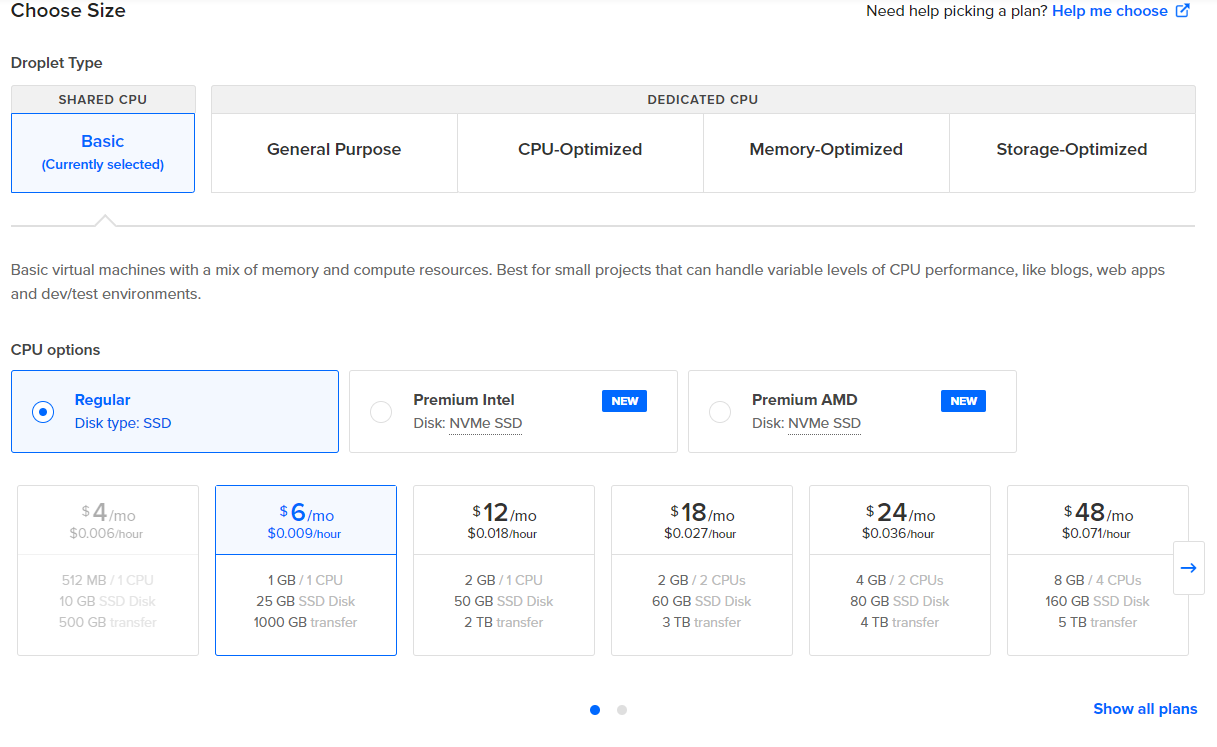
You won’t need much computing power if you are just doing a simple portfolio so you can just start out with the basic CPU.
Create a password to access your Droplet as the “root” user. Make sure this a long and strong password that you store securely and do not lose. Root is the highest account level in Linux and has the permission to do anything it wants, you don’t want this falling into the wrong hands.
Next you will need to purchase a domain name if you don’t already have one so that your website can be accessed by its name instead of just the IP address.
After you purchase your domain name you’ll need to set up your DNS records, so that the internet knows your domain name should redirect to the IP address of the server hosting your website. To do this click the options on your new Droplet and select ‘Add a domain’ and then type in the domain name you have purchased for your website.

Next you will create an ‘A Record’ an ‘A Record’ is the record that stores the information of what domain name will be associated with your server’s IP. To do this enter your domain name in the ‘host name’ field or just type ‘@’ for it to auto populate. Next you’ll select your server in the ‘will direct to’ field. I don’t expect many changes to take place for the DNS records for this site, so I just left the TTL at the default 3600 seconds.
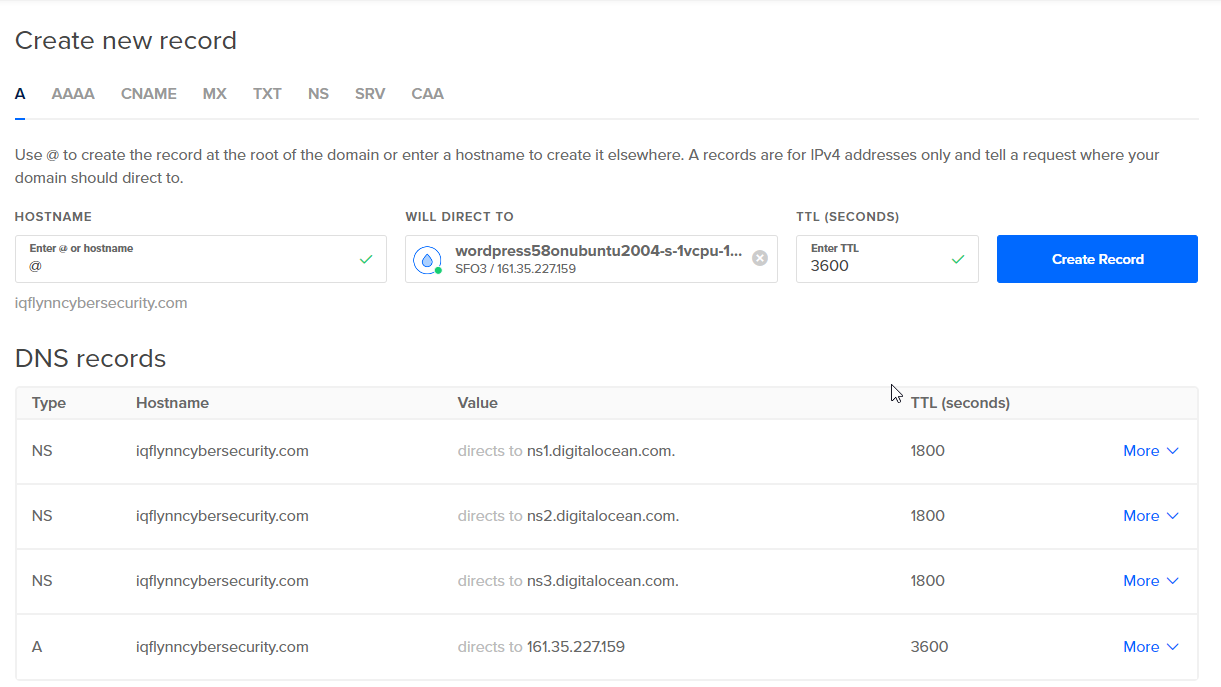
After you’ve created your ‘A Record’ you can create a ‘AAA Record’ if you’d like to associate your domain to an IPv6 address, a ‘CNAME Record’ if you have other domain names you would like to be associated to this one, or an ‘MX Record’ if you will be setting up a mail server on your website as well.
Now to finish setting up DNS for your website you’ll need to login to your domain registrar (who you bought your domain name from) to have it point to the DigitalOcean name servers

Now its time to access your server! On DigitalOcean open the options next to your Droplet and select ‘Access console’ after that click ‘Launch Droplet Console’ to bring up the terminal on your server. Follow the prompts to create your admin account and setup LetsEncrypt. LetsEncrypt is a free certificate authority that allows for SSL on your website so that users can have a safe and encrypted connection to your website.
Your website should now be setup and ready for you to build! Go to ‘yourdomain.com/wp-admin’ to get started!
